How to Paint a Metal Door
Painting a steel door, especially if it’s your front door, can give the exterior of your home a much-needed boost. However, applying metal door paint needs extra special care because the paint isn’t absorbed into the material like it is with wood. If you don’t get the process right, you could end up with a rough-looking texture in your paint finish. As with most DIY painting projects, success relies on preparation and the right products and tools. This guide offers a step-by-step process to show you exactly how to paint a metal door so you can quickly and easily achieve your desired results.
 To achieve the best results, remove the door from its frame. This is not required, but it will make it easier to achieve the best finish possible. Then remove all hardware from your door, including your letterbox, door handles, hinges (if the door has been removed from the frame), knockers, etc.
Painting awkwardly around these items will slow you down. If you are unable to remove the hardware from your door, tape over anything you don’t want painted to ensure you are left with a clean finish.
To achieve the best results, remove the door from its frame. This is not required, but it will make it easier to achieve the best finish possible. Then remove all hardware from your door, including your letterbox, door handles, hinges (if the door has been removed from the frame), knockers, etc.
Painting awkwardly around these items will slow you down. If you are unable to remove the hardware from your door, tape over anything you don’t want painted to ensure you are left with a clean finish.
 For a smooth finish, ensure the surface is clean before applying the paint. Give your door a thorough clean with a degreaser and a rag to remove any dirt, oil, grease, or grime from the surface.
Once you have cleaned the door, wipe it down with a dry cloth and leave it for an hour or two before moving on to the next step.
For a smooth finish, ensure the surface is clean before applying the paint. Give your door a thorough clean with a degreaser and a rag to remove any dirt, oil, grease, or grime from the surface.
Once you have cleaned the door, wipe it down with a dry cloth and leave it for an hour or two before moving on to the next step.
 This step will depend on the current condition of your door. If it has flakey paint on it, you will need to strip it off using a paint stripper or heat gun. It is important not to use an abrasive material when removing the old paint as this can damage the metal.
If you have taken the door off the frame, make sure you do this step in a well-ventilated area, as paint stripper emits fumes. If the door is attached, ventilate the room as well as you can and wear lung and eye protection.
This step will depend on the current condition of your door. If it has flakey paint on it, you will need to strip it off using a paint stripper or heat gun. It is important not to use an abrasive material when removing the old paint as this can damage the metal.
If you have taken the door off the frame, make sure you do this step in a well-ventilated area, as paint stripper emits fumes. If the door is attached, ventilate the room as well as you can and wear lung and eye protection.
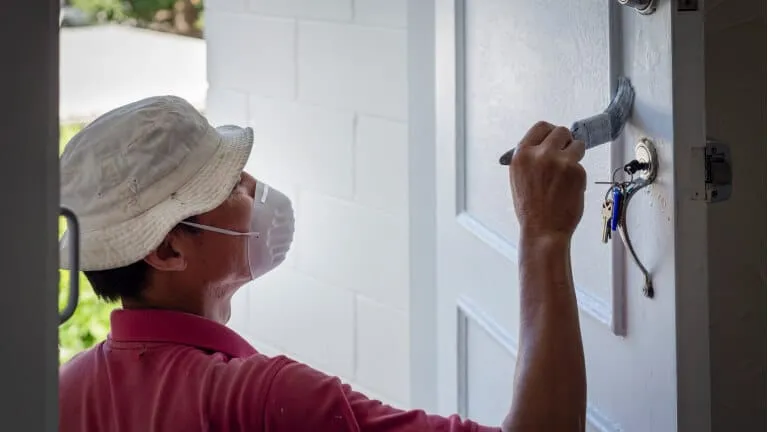
 Once you have stripped off any old paint, or if your door is already paint-free, the next step is to sand it down to allow the primer and paint to adhere to the surface. While wearing a dust mask and safety glasses, sand the door slowly and lightly with fine sandpaper — 400-grit sandpaper is ideal.
Make sure you give the surface a quick wipe with a damp cloth to remove any dust left over from sanding.
Once you have stripped off any old paint, or if your door is already paint-free, the next step is to sand it down to allow the primer and paint to adhere to the surface. While wearing a dust mask and safety glasses, sand the door slowly and lightly with fine sandpaper — 400-grit sandpaper is ideal.
Make sure you give the surface a quick wipe with a damp cloth to remove any dust left over from sanding.
 Choosing a high-quality primer will protect your door and form a hard-wearing barrier. The primer you choose will depend on what paint you are planning to use on your door. If you are going for latex or oil-based paint, then this multi-surface primer will work just fine.
To apply the primer, you will need to use a paint roller for the main sections and an angular sash brush for the panels and corners. Depending on the primer you use, it will take some time to dry, averaging between one to three hours. Make sure you read the manufacturer’s instructions and apply a second coat if needed. Make sure your primer is completely dry before moving on to the next step.
Choosing a high-quality primer will protect your door and form a hard-wearing barrier. The primer you choose will depend on what paint you are planning to use on your door. If you are going for latex or oil-based paint, then this multi-surface primer will work just fine.
To apply the primer, you will need to use a paint roller for the main sections and an angular sash brush for the panels and corners. Depending on the primer you use, it will take some time to dry, averaging between one to three hours. Make sure you read the manufacturer’s instructions and apply a second coat if needed. Make sure your primer is completely dry before moving on to the next step.
 Using your paint roller, apply one coat of exterior paint onto the flat areas of the door and use your angular sash brush on any paneled areas or corners. Use a paint designed for exterior use, such as an exterior satin paint or semi-gloss paint.
It is best to apply a minimum of two coats to ensure a consistent finish that will last. Make sure each coat is completely dry before adding another. The manufacturer’s instructions will likely tell you how many coats you will need, as well as how long you should let each coat dry.
If you are painting both sides of the door, work on one side at a time, as wet paint can be damaged if it comes into contact with another surface too quickly. Once you have finished painting, leave your door to dry completely — a minimum of 12 hours.
Using your paint roller, apply one coat of exterior paint onto the flat areas of the door and use your angular sash brush on any paneled areas or corners. Use a paint designed for exterior use, such as an exterior satin paint or semi-gloss paint.
It is best to apply a minimum of two coats to ensure a consistent finish that will last. Make sure each coat is completely dry before adding another. The manufacturer’s instructions will likely tell you how many coats you will need, as well as how long you should let each coat dry.
If you are painting both sides of the door, work on one side at a time, as wet paint can be damaged if it comes into contact with another surface too quickly. Once you have finished painting, leave your door to dry completely — a minimum of 12 hours.
 Once the paint has dried completely, carefully remove any tape and reattach the hardware to your door. If you removed your door, then the final step is to rehang it.
7 steps to painting a metal door
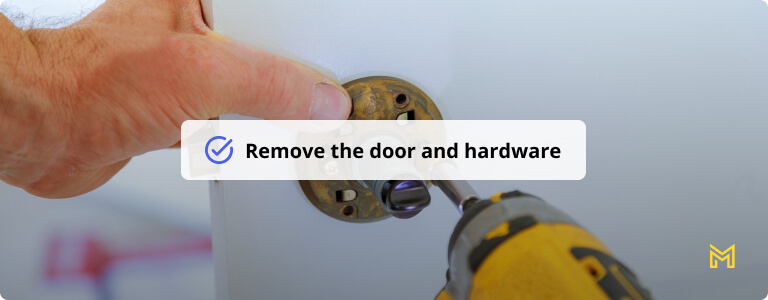
Step 1: Remove the door and hardware
To achieve the best results, remove the door from its frame. This is not required, but it will make it easier to achieve the best finish possible. Then remove all hardware from your door, including your letterbox, door handles, hinges (if the door has been removed from the frame), knockers, etc.
Painting awkwardly around these items will slow you down. If you are unable to remove the hardware from your door, tape over anything you don’t want painted to ensure you are left with a clean finish.
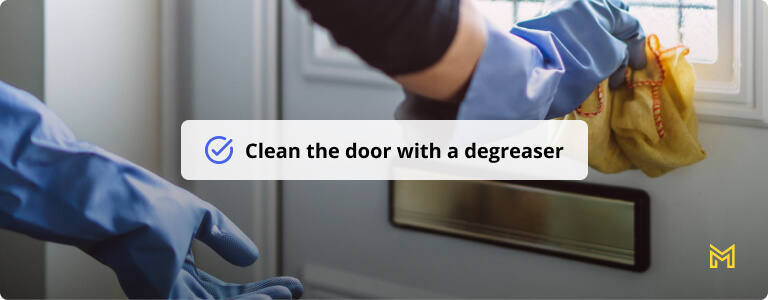
Step 2: Clean the door with a degreaser
For a smooth finish, ensure the surface is clean before applying the paint. Give your door a thorough clean with a degreaser and a rag to remove any dirt, oil, grease, or grime from the surface.
Once you have cleaned the door, wipe it down with a dry cloth and leave it for an hour or two before moving on to the next step.
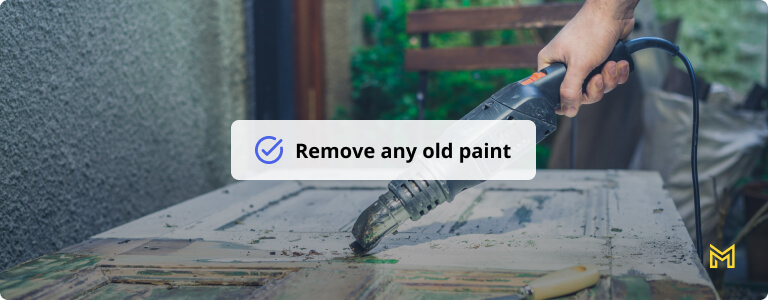
Step 3: Remove any old paint
This step will depend on the current condition of your door. If it has flakey paint on it, you will need to strip it off using a paint stripper or heat gun. It is important not to use an abrasive material when removing the old paint as this can damage the metal.
If you have taken the door off the frame, make sure you do this step in a well-ventilated area, as paint stripper emits fumes. If the door is attached, ventilate the room as well as you can and wear lung and eye protection.
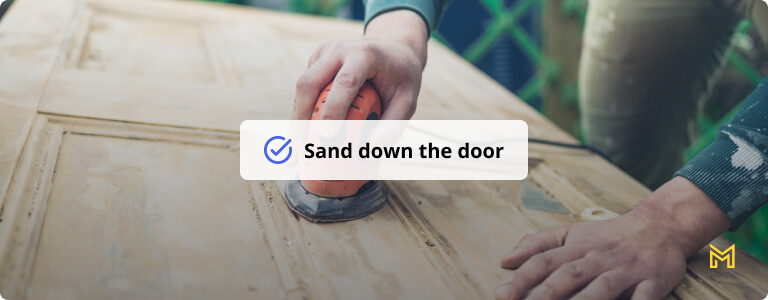
Step 4: Sand down the door
Once you have stripped off any old paint, or if your door is already paint-free, the next step is to sand it down to allow the primer and paint to adhere to the surface. While wearing a dust mask and safety glasses, sand the door slowly and lightly with fine sandpaper — 400-grit sandpaper is ideal.
Make sure you give the surface a quick wipe with a damp cloth to remove any dust left over from sanding.
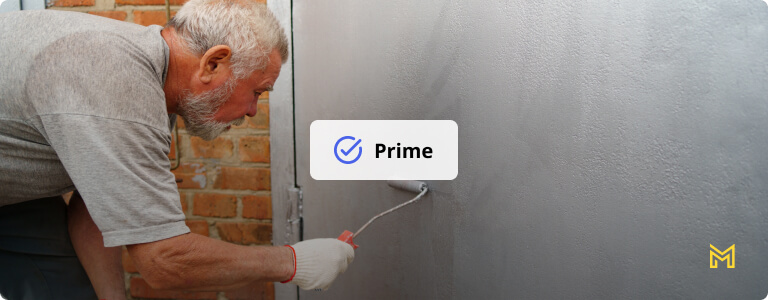
Step 5: Prime
Choosing a high-quality primer will protect your door and form a hard-wearing barrier. The primer you choose will depend on what paint you are planning to use on your door. If you are going for latex or oil-based paint, then this multi-surface primer will work just fine.
To apply the primer, you will need to use a paint roller for the main sections and an angular sash brush for the panels and corners. Depending on the primer you use, it will take some time to dry, averaging between one to three hours. Make sure you read the manufacturer’s instructions and apply a second coat if needed. Make sure your primer is completely dry before moving on to the next step.
Step 6: Apply your paint
Using your paint roller, apply one coat of exterior paint onto the flat areas of the door and use your angular sash brush on any paneled areas or corners. Use a paint designed for exterior use, such as an exterior satin paint or semi-gloss paint.
It is best to apply a minimum of two coats to ensure a consistent finish that will last. Make sure each coat is completely dry before adding another. The manufacturer’s instructions will likely tell you how many coats you will need, as well as how long you should let each coat dry.
If you are painting both sides of the door, work on one side at a time, as wet paint can be damaged if it comes into contact with another surface too quickly. Once you have finished painting, leave your door to dry completely — a minimum of 12 hours.
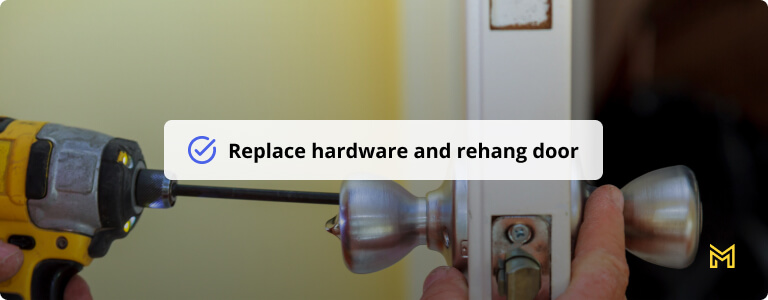
Step 7: Replace hardware and rehang door
Once the paint has dried completely, carefully remove any tape and reattach the hardware to your door. If you removed your door, then the final step is to rehang it.
Best paints for metal doors
You can use both water-based (acrylic or latex) and oil-based paints on your metal door. You’ll want to choose a paint that’s labeled as rust and fade-resistant, since your front door will be exposed to the elements. Exterior acrylic or latex paint is most peoples’ first choice for metal doors, as it’s easy to clean and highly resistant to fading over time. It’s also easier to apply, dries quickly, and is safer to use than oil. Oil-based paints, however, are better at resisting rust, so if you get a lot of snow and rain at your house, you might need to apply a fresh coat after a few years.Products and tools you’ll need to paint a metal door
- Painter’s tape: Using tape will ensure you get a sharp, clean line and professional-looking paint job, alongside protecting parts of the door you don’t want painted.
- Degreaser: This removes any grease or oil stains from your door.
- Paint stripper: Effectively removes paint, varnish, lacquer, and epoxy from metal to ensure a professional finish.
- Sandpaper: Ideal for obtaining a satin-smooth finish and good primer adherence.
- Multi-surface primer: Primer makes paint stick better to surfaces for a longer-lasting finish.
- Paint roller: Effective for applying metal door paint to large areas.
- Angular sash brush: An angular brush allows you to paint corners, panels, and beveled edges with precision.
- Exterior satin paint: Acrylic satin finish resists scratches and scuff marks to retain a high-quality and long-lasting finish.
- Semi-gloss paint: This oil-based formula provides a durable protective coating that also prevents your door from rusting.