Painting Over Stained Wood: A How-To Guide
The products featured here are independently selected based on thorough research from our editorial team. If you buy something through links on our site, we may receive a commission.Yes, you can paint over some stained wood, but it will take a little extra prep work. For most projects, you should give yourself two full days to complete the job from start to finish. Here's what you'll need to do:
- Sand the wood
- Wipe it down with a tack cloth
- Add a coat of primer
- Wipe away any remaining wet spots
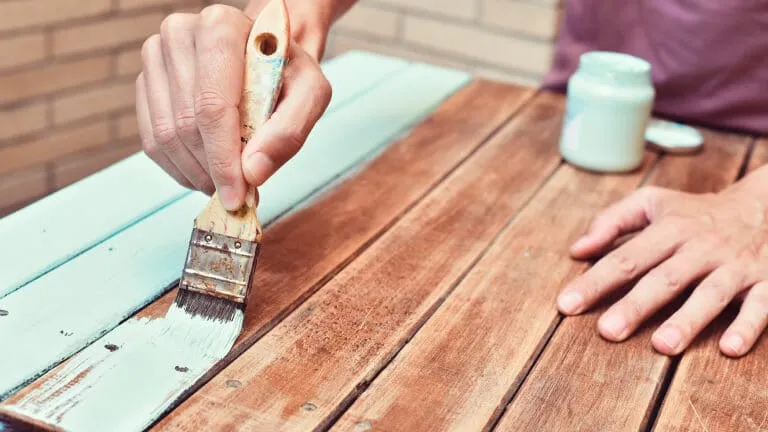
- Paint the wood
- Apply the finish
Can you paint over stain?
While stained wood is an attractive look, giving your cabinets or deck a fresh coat of paint can bring your home back to life. But can you paint over stain? The right answer depends on several factors, including how much time you can allocate to the project and your skill level. The process used for painting over stained wood depends on the type of stain you use, the current condition of the wood, and whether or not the piece you're painting is furniture.Paint over wood stain in 6 easy steps:
Whether you're a new homeowner or you want to give a facelift to a home you've been living in for years, the following DIY guide on painting over stained wood will help you choose the proper tools to get the job done right the first time.Step 1: Start by sanding the wood
"Can you paint over stain without sanding?" is a common question. While some primer manufacturers and guides say it's possible, you should sand down your stained wood with 150 grit sandpaper for best results. When using sandpaper, your goal is just to make the surface rough enough for the paint to have something to grab onto. There's no need to strip the entire surface of the wood.Step 2: Wipe down the wood
After sanding the wood, wipe it down with a tack cloth. This will help remove any particles and residue left by the sandpaper. Using tack cloth is essential; a paper towel won't do the trick.Step 3: Add a coat of primer
Make sure to use shellac or an oil-based primer when you paint over stained wood. Oil-based primers help protect wood surfaces better than water-based primers. When priming, use a foam brush and foam roller to get the best results.Step 4: Wipe the wood with a cloth
After your primed wood is fully dry, take a fresh tack cloth and wipe away any remaining wet spots. Similar to Step 2, do not use a paper towel to wipe down the wood.Step 5: Paint your wood
After priming the wood, the next step is to paint it. Grab a fresh foam roller and apply at least three coats of either latex or oil-based paint. Latex paint is preferred for cabinets and doors because it doesn't leave an odor behind when you're done. Oil-based paint is great for high traffic areas like decks and porches because it lasts longer and offers maximum protection. Make sure to allow six hours of drying time in between coats of paint. During this time, inspect the wood for any clumped leftover paint residue that needs to be removed with a tack cloth before the paint dries completely.Step 6: Apply the finish
After applying at least six coats of paint, you'll need to apply something to protect the wood. The best option is using a Polcrylic Protective Finish that can be applied with a cloth or aerosol spray, depending on the brand.What you'll need to paint over wood stain
- 150 Grit Sandpaper: Sandpaper is an essential part of the process. It's used to prep the wood before painting. Using a sponge or sandpaper brick makes the sanding easier on your hands. If you want to finish faster, consider investing in a sheet sander.
- Tarps: You'll need to buy at least one tarp to help keep your work area clean.
- Primer: A high-quality paint primer helps seal the wood to prevent paint from soaking into it. Primer also covers unwanted blemishes and reduces the number of coats you'll need to apply.
- Paintbrushes: Make sure to get multiple foam paintbrushes and foam rollers. You'll need fresh ones for both the priming step and the painting step.
- Tack cloth: This specialized type of cloth is extremely affordable and is made specifically for woodworking. You'll need a set to clean up excess paint and dust off the wood.
- Polycrylic Protective Finish: The right finish makes all the difference. Choose a well-known brand that dries fast and will last a long time.