The Complete Guide to Window Cleaning

If your home's windows have dirt, dust, water spots, and other debris covering them, you might not be getting as much natural light as you would like. The best way to bring in additional light (and enjoy the view) is by keeping them clean. If window cleaning isn't at the top of your to-do list to keep your home clean and maintained, perhaps it should be.
Window washing might seem like a straightforward process, but it's one that people often do incorrectly without realizing. To learn how to clean windows efficiently, you also need to pick out the right tools, methods, and window washing solution. Let's dig in!
How to clean windows in 5 simple steps
- Gather your tools and equipment
- Pick the best time for window cleaning
- Get the bucket ready
- Wash the window
- Dry everything off
Step 1. Gather your tools and equipment
The best way to clean windows is to have a plan of attack, and that starts with assembling your tools. You can get your windows as clean as the professionals when you assemble your kit ahead of time. Professional window washers use a squeegee to prevent streaks. Because they're longer than a standard bucket is wide, I recommend using a window washing bucket for cleaning and storing supplies.What you'll need for this step
- Window washing bucket
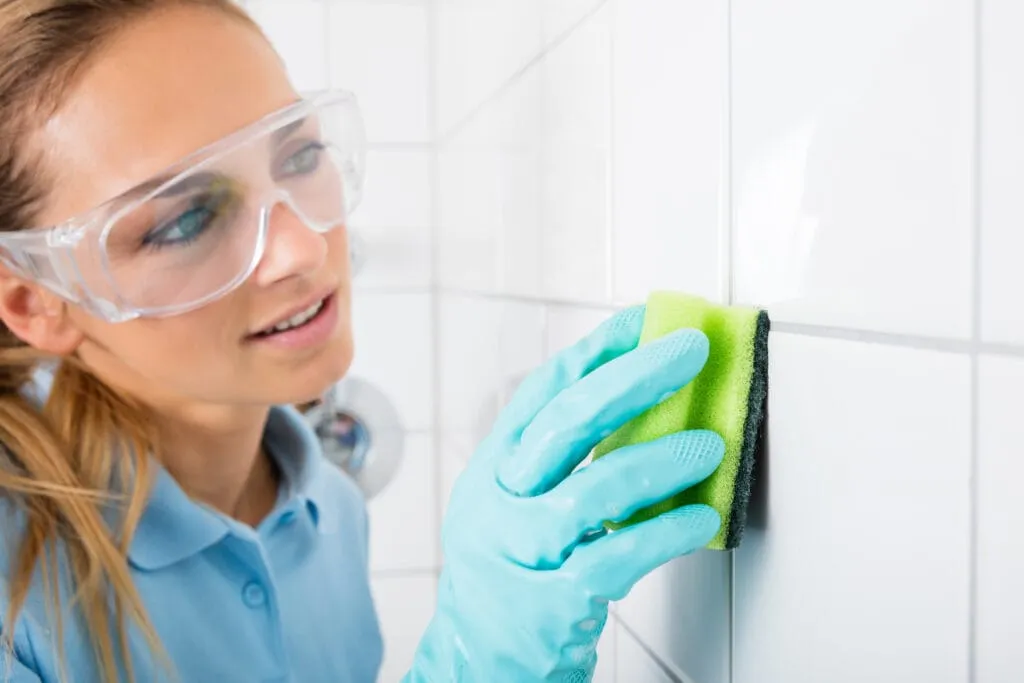
- Rubber gloves to protect your hands
- All-purpose squeegee with optional extension rod
- Scraper for removing paint or other tough marks
- Dry microfiber or lint-free cloths
- Window cleaning solution or dish detergent
Step 2. Pick the best time for window cleaning
The best time for window cleaning is when it's cloudy, or you're cleaning windows in the shade. If you clean windows that are facing the sun, that could cause streaking no matter how hard you try wiping them off. The heat from the sun warms the window too much, causing the window cleaner to dry too quickly. Prepare the window by dusting it down and then placing a cloth on the windowsill to protect it, and catch drops and spills.What you'll need for this step
- Duster
- Microfiber cloth if you prefer not to use a duster
- Towel for the windowsill
Step 3. Get the bucket ready
Add a small amount of window cleaning solution to the bucket, and then add warm water. If you're wondering how to clean windows with vinegar rather than with chemicals, mix one-part vinegar and two parts water. Avoid using water that's too hot, or it'll evaporate from the window before you can squeegee it off. Put on a fresh set of rubber gloves and then dip the squeegee into the water.What you'll need for this step
Step 4. Wash the window
After getting the squeegee wet, apply it to the window. Scrub away all dirt and debris, working from top to bottom. If you have stubborn spots, use the scraper to remove them and then squeegee over that spot again. Once you finish applying the window cleaning solution to the window, squeegee it off by drawing it across the window in straight passes. At the end of each stroke, curve the squeegee downward.What you'll need for this step
Step 5. Dry everything off
After passing the squeegee over the areas you washed, wipe the rubber dry using the microfiber cloth. Not only does this prevent water from running down the window, but it prevents drips on your flooring as well. Once you finish squeegeeing the entire window, use the microfiber cloth to dry all other wet spots you see on the glass.What you'll need for this step
Pro tips
- Pro-tip #1: You can get a lint-free shine by using an old T-shirt if you don't have microfiber cloths.
- Pro-tip #2: Use crumpled newspaper if you don't have a window squeegee to scrub away dirt. Be sure to wear rubber gloves to prevent newsprint from transferring onto your hands.
- Pro-tip #3: Remove build-up in the corners of your windows using cotton swabs.
- Pro-tip #4: Clean the window frame and track first, where grime tends to accumulate. This prevents a muddy mess.