How to Remove Paint From Brick in 8 Easy Steps
Brick can immediately increase a home's coziness factor. Exposed brick walls, brick fireplaces, and brick exteriors add instant charm and appeal. When done right, painted brick can easily make a home look like it's out of a storybook. But painted brick done wrong can turn prospective buyers away. If you're looking at home or feature that belongs in the second category and want to know the easiest way to remove paint from brick, read on to learn more.
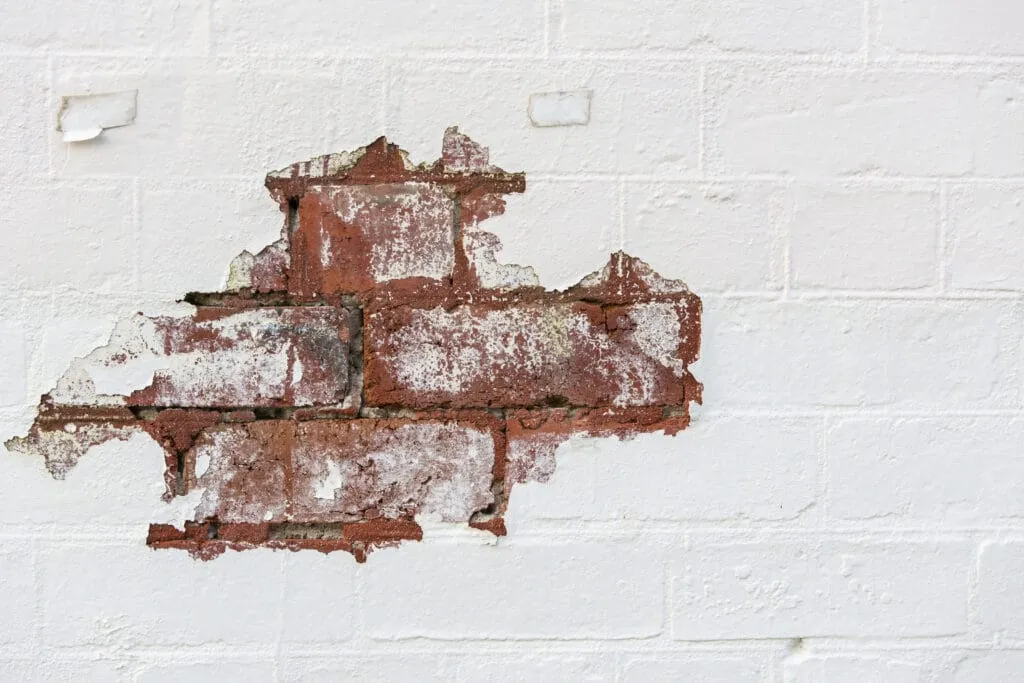
How to get paint off brick, step by step
Prior to 1920, brick consisted of mostly lime and sand, a combination that causes the material to crumble over time. Nowadays, most bricks are made from Portland cement, which is a more durable, long-lasting material. If you know for sure that your home consists of lime and sand brick — or you notice a significant amount of crumbling and cracking — have a masonry company assess the situation and make repairs before continuing with the following steps.Step 1: Organize your workspace
Like any other outdoor and home improvement job, there's a mess involved. Use drop cloths or plastic to cover the ground beneath the brick. Removing paint flakes from plants or sweeping them up from the floor is a hassle and could eat up hours of your time. Place all necessary tools in one easily accessible location.Step 2: Test a small area first
Test a small, out-of-sight area with the stripping compound first to make sure it works properly. This test is also useful to see whether or not the paint was used to purposefully hide any maintenance issues.Step 3: Remove loose paint
Before going crazy with the paint stripping compound, scrape away as much paint as possible that's already come loose.Step 4: Apply the paint stripper
It's time to start stripping away that paint. Start with the tool provided by the manufacturer. If a tool wasn't included, a trowel works just fine. Make sure to cover every single brick and push the stripper into every hole and crevice you find. Apply as much paint stripper as the instructions recommend. You might need multiple layers of paint stripper to get the job done.Step 5: Apply the peeling strips
After applying the stripper, place peeling strips over the entire area. These strips are usually made of fabric and should overlap each other so that you cover every single brick. Press each strip firmly against the stripper chemicals.Step 6: Wait for the magic
After applying all strips, wait until the stripping compound fully cures. This varies depending on the manufacturer, but in many cases, you might have to wait a full 24 hours.Step 7: Remove the strips
Once the required amount of time has passed, you'll be able to remove the strips. Do this slowly and deliberately to avoid any tearing. Use a trowel to remove any leftover paint stripping compound or residue. If that fails, warm water and a thickly-bristled brush should do the trick.Step 8: Dispose of the strips
Properly dispose of the strips following the manufacturer's instructions. Note that you may have to place them in a neutralizing chemical before throwing them away.Products and tools you'll need to get paint off brick
- Dropcloth: This will help keep your work area clean. Depending on how large your home is, buying multiple packs and laying them down all at once may help make the project more efficient.
- Paint stripper: Look for a brand that's safe, or specially formulated, to use on brick. Keep in mind that most stripping compounds effectively cover about 45–50 square feet of brick.
- Trowel: While many paint stripping brands come with paint removal tools, play it safe, and purchase your own trowel. They're relatively inexpensive and can be used for other home improvement projects as well.
- Ladder: If you don't have a ladder, now is the time to purchase one. A ladder that extends up to 10 feet works best, especially if you have a two-story house.
- Disposable gloves: When working with paint stripping compounds, always wear disposable gloves. Most compounds contain eye irritants, so keeping your hands clean is essential to your safety.